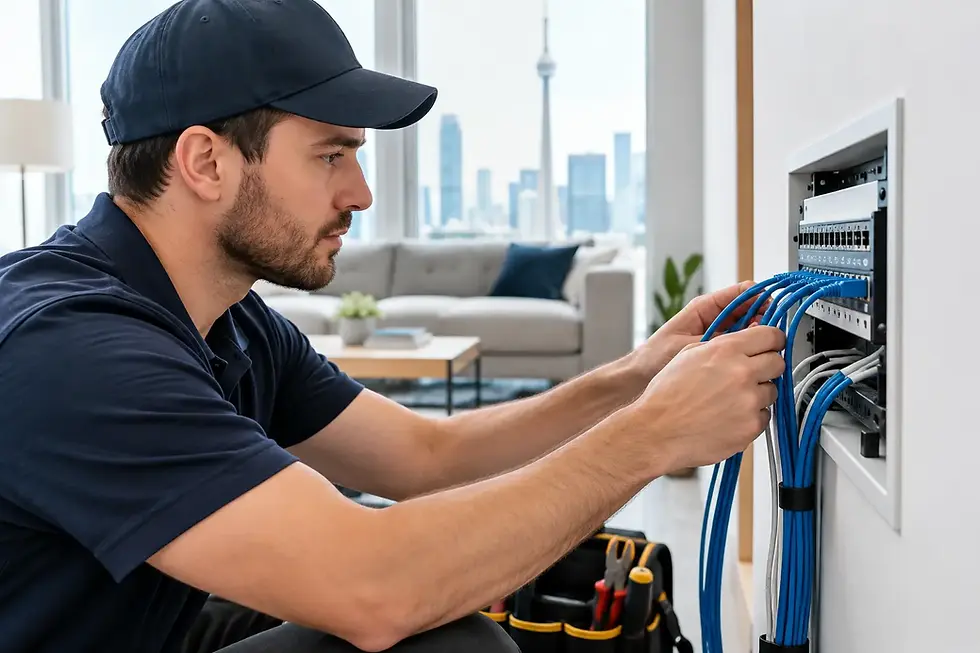
Ethernet Wiring Guide for Homes and Businesses

A slow camera feed, weak Wi-Fi at the far end of the house, or an unreliable debit terminal is often not an internet-provider problem. It is a cabling problem. This ethernet wiring guide explains how to plan wired network cabling that supports the way your home or small business actually works, from security cameras and access points to computers, TVs, phones, and smart devices.
Wireless has its place, but a properly installed Ethernet backbone gives the rest of the network a dependable foundation. It reduces dropouts, provides consistent speed, and can carry both data and power to many devices through Power over Ethernet, or PoE.
Start With What You Need the Network to Do
The best cable route is not always the shortest route. Before opening walls, drilling through a foundation, or mounting a camera, identify the equipment that needs a wired connection now and what you may add later.
For a home, that may include Wi-Fi access points, security cameras, a video doorbell, smart TV, gaming system, desktop computer, and network video recorder. In a small business, the list can also include VoIP phones, workstations, printers, point-of-sale equipment, access control, and wireless access points.
Think about where the network begins. Most properties benefit from a central, accessible location for the internet modem, router or firewall, switch, camera recorder, and battery backup. A utility room, structured wiring panel, secure office closet, or basement equipment area can work well. Avoid placing critical equipment in an unconditioned garage, cramped ceiling space, or location that is difficult to service later.
From that central point, plan individual cable runs in a star layout. Each device location gets its own cable back to the network switch or patch panel. Do not wire Ethernet from one room to the next in a chain. A star layout is easier to troubleshoot, expand, label, and repair.
Choose the Right Ethernet Cable
For most new residential and small-business installations, Cat6 is the sensible default. It supports gigabit networking easily and provides useful headroom for newer equipment. Cat6A may be worthwhile for longer 10-gigabit runs, high-demand commercial environments, or projects where the walls are already open and future capacity is a priority.
Cat5e can still carry gigabit speeds and may be appropriate when extending an existing system, but it is usually not the first choice for new permanent wiring. The cost difference between quality Cat5e and Cat6 is often small compared with the labour involved in running cable through finished walls, ceilings, and exterior routes.
Use solid-copper, in-wall-rated cable for permanent runs. Be cautious with low-cost copper-clad aluminium, often marked CCA. It may look similar, but it is less reliable for PoE devices, more prone to voltage drop, and generally not a good choice for professional network cabling.
Cable jacket ratings matter too. Standard riser-rated cable is commonly used for runs through walls and between floors. Areas used to move environmental air may require plenum-rated cable. The right choice depends on the building, the cable path, and applicable electrical and building requirements. When in doubt, have the route assessed before installation rather than assuming any cable can be hidden anywhere.
Plan Cable Paths Before You Pull Wire
A clean installation begins with a route plan. Walk the property and look for accessible basement ceilings, attic paths, closets, utility chases, and unfinished areas that can reduce wall repairs. Consider where camera views need to be placed, how exterior cable will enter the building, and where access points will provide the most useful wireless coverage.
Keep network cable separated from electrical wiring. Running Ethernet parallel and close to power cable for a long distance can introduce interference, especially in commercial spaces with more electrical loads. If cables must cross, crossing at roughly a right angle is generally preferable. Keep cable away from fluorescent ballasts, motors, electrical panels, and sources of heat where possible.
Do not pull cable tightly around sharp corners, crush it with staples, or exceed its bend radius. Network cable is designed around twisted pairs of conductors. Kinks, crushing, and excessive pulling can affect performance even if the cable still appears intact.
Outdoor camera runs need additional attention. Use cable rated for the environment or protect it in suitable conduit where exposure, physical damage, or UV light is a concern. Seal building penetrations properly and create a drip loop so water does not follow the cable into the structure. For detached garages, gates, or outbuildings, the safest network connection may be fibre rather than copper, depending on distance and grounding conditions.
Follow Ethernet Distance and PoE Limits
A standard copper Ethernet channel is designed for up to 100 metres total, including permanent cable and patch cords. That is more than enough for many homes, but large properties, warehouses, and multi-unit commercial spaces can approach the limit quickly.
PoE adds another consideration. A PoE switch or injector can power compatible cameras, access points, phones, and other devices through the same Ethernet cable used for data. This avoids needing a local electrical outlet at every device, which can make camera and access-point installations much cleaner.
However, not all PoE equipment has the same power requirement. A fixed camera may need modest power, while a PTZ camera, multi-sensor camera, or high-performance access point may require more. The switch must have enough total PoE budget for every connected device, not simply enough ports. Long cable runs, poor-quality cable, and CCA conductors can also reduce available power.
For security systems, allow capacity for expansion. A switch with eight PoE ports may sound sufficient for six cameras, but two spare ports can be valuable when adding another camera, access point, or doorbell later.
Terminate Every Run Consistently
Most permanent Ethernet cabling should end at a wall plate or surface-mount box with a keystone jack, then use short patch cables to connect the device and network equipment. This is more durable and serviceable than crimping an RJ45 plug directly onto the end of in-wall cable.
Use one wiring standard throughout the property. T568B is widely used in North American installations, though T568A also works when used consistently at both ends. The problem is not choosing one over the other. The problem is mixing them accidentally and creating a crossover or failed connection.
At the central location, terminate the runs on a patch panel where practical. Label both ends of every cable clearly. A label such as “Front Door Camera,” “Office Desk 2,” or “Second Floor AP” can save considerable time when equipment is moved, upgraded, or troubleshooting is required.
Avoid leaving loose, unlabelled cables hanging beside the router. A small amount of organization at installation makes ongoing support much easier and gives the system a professional finish.
Test the Cable Before Closing Walls
Every cable should be tested after termination and before walls are closed or equipment is mounted permanently. A basic tester confirms continuity and pair order. A more capable cable tester can identify split pairs, length issues, and other faults that can cause slow or intermittent performance.
Testing matters because a connection light does not always prove a cable is performing properly. A damaged pair may allow a device to connect at a reduced speed, while a marginal termination may fail only when a camera uses night vision or an access point is under load.
Once the cable passes testing, connect the intended device and verify real-world operation. Confirm camera video at the recorder and mobile app, test Wi-Fi coverage from the installed access point, make a VoIP call, or transfer a file between wired devices. This final check confirms that the cable, switch, device configuration, and power requirements are working together.
Common Ethernet Wiring Mistakes to Avoid
The most expensive mistakes usually come from planning shortcuts rather than the cable itself. Avoid using CCA cable for PoE installations, sharing a single run between multiple devices with improvised splitters, burying unprotected indoor cable outdoors, and placing all wireless equipment beside the modem in one corner of the building.
Another frequent issue is treating a security camera system as separate from the network. Modern IP cameras, remote viewing, network recorders, and mobile alerts all depend on sound network design. Camera traffic should be planned alongside internet access, Wi-Fi, and business devices so the system remains responsive and secure.
For larger homes and businesses, it may also make sense to separate cameras, guest Wi-Fi, and business computers into different network segments. This is a configuration decision rather than a cabling change, but installing enough dedicated cable runs now gives you far more flexibility later.
When Professional Installation Makes Sense
A simple desktop-to-router connection is easy to handle with a patch cord. Permanent wiring through finished walls, multi-storey homes, commercial ceilings, exterior camera locations, and network closets is different. The work needs careful routing, appropriate materials, clean wall plates, proper testing, and an understanding of how the cabling will support cameras, Wi-Fi, and other equipment over time.
A property-specific plan can also prevent unnecessary work. Sometimes one properly placed wired access point solves a Wi-Fi complaint better than adding several wireless extenders. Sometimes a camera route needs conduit, a better mounting location, or a PoE switch with a larger power budget. The right answer depends on the building and the devices being used.
TechWise designs and installs wired networks for homeowners and small businesses across Burlington and the GTA, with clean cable runs, properly tested connections, and support for the equipment connected to them. The most useful next step is to map the rooms, devices, and future additions that matter to you, then build the wiring around that plan rather than around temporary workarounds.