Outdoor Camera Installation for Homes That Works

A camera above the front door may record a visitor clearly, yet miss the person approaching from the driveway. A camera aimed across the backyard may capture plenty of activity, but produce unusable glare after sunset. Effective outdoor camera installation for homes is less about mounting the most cameras possible and more about seeing the right areas clearly, day and night, without creating a system that is difficult to use or maintain.
For homeowners in Burlington and across the Greater Toronto Area, the best setup begins with the property itself. Entry points, vehicle access, side gates, blind corners, lighting, Wi-Fi coverage, and even winter weather all affect the final result.
Start with the areas that matter most
Most homes do not need cameras on every exterior wall. They need reliable coverage of the places where people, vehicles, and deliveries actually move through the property. The front entrance is usually the first priority, followed by the driveway, garage, side access, and backyard gate or patio door.
A good camera plan follows likely paths of travel. For example, a driveway camera should be positioned to identify vehicles and people entering or leaving, not simply provide a wide overhead view of the pavement. At the front entrance, the goal is generally to see faces at a useful angle, while still capturing packages left near the door.
The side of a house is often overlooked. It can be an easy route to a rear gate, shed, or patio door, especially when fences and landscaping block sightlines from the street. A properly placed camera can cover this narrow access point without needing to cover the entire yard.
Before installation, walk the property at the times you are most likely to need footage: after dark, during the morning rush, and when deliveries typically arrive. This often reveals issues that are not obvious in daylight, such as a porch light creating glare or a large tree blocking part of the view.
Outdoor camera installation for homes needs the right camera height
Mounting height affects both image quality and security. A camera placed too low can be tampered with easily and may only capture the tops of hats or heads. Mounted too high, it may offer a broad view but make facial identification difficult.
For many exterior locations, a height of roughly 8 to 10 feet provides a sensible balance. The camera is out of easy reach while still angled toward faces and activity below. The ideal position depends on the lens, the viewing area, and whether the camera is intended for identification, general monitoring, or vehicle coverage.
Avoid aiming cameras directly across a large open area if identification is the goal. A person walking across the far edge of a wide image may appear too small for useful detail, even with a high-resolution camera. It is usually better to position the camera where a person naturally comes closer to it, such as along a walkway, at a gate, or near a door.
Camera angles also matter for privacy. Your system should focus on your own entrances, driveway, yard, and business area where applicable. If a nearby home is close by, careful positioning and privacy masking can help keep the frame focused where it belongs.
Choose wired or wireless based on the property
Wireless cameras are convenient, particularly where running cable would require opening finished walls or crossing difficult areas. They can work well at a front entrance, detached garage, or other location with strong, stable Wi-Fi. However, wireless does not mean maintenance-free. Camera performance depends on signal strength, internet reliability, battery condition where applicable, and the number of connected devices sharing the network.
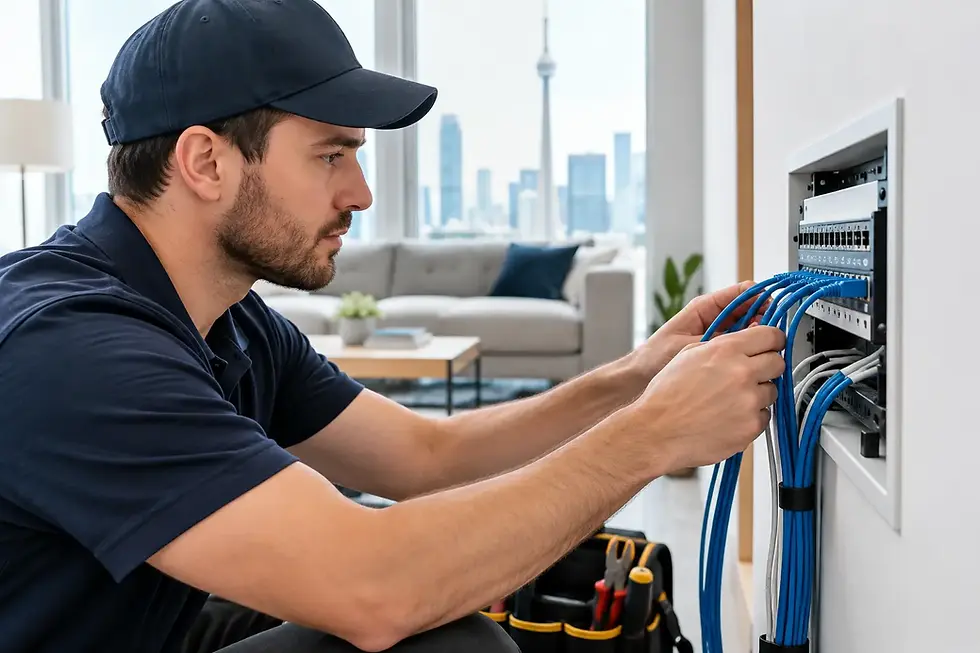
Wired cameras are often the better choice for permanent coverage of important areas. A wired connection can provide consistent video transmission and, with Power over Ethernet, power and data through one properly installed cable. This avoids the regular battery charging associated with some wireless options and reduces the chance of a weak Wi-Fi signal affecting video quality.
There is no single right answer. A wired system may make the most sense for a home renovation, new build, or property where cables can be routed discreetly through the attic, basement, soffit, or exterior conduit. Wireless can be practical for a targeted addition where cabling is not reasonable. Many homes benefit from a combination of both.
The key is to assess Wi-Fi before relying on it. A phone may appear to have signal on the driveway, but that does not always mean a camera will maintain a stable connection through exterior brick, insulation, appliances, and changing weather conditions. Network improvements may be needed before adding cameras at the edge of the property.
Plan for darkness, weather, and changing seasons
Outdoor cameras in Ontario face rain, snow, wind, summer heat, freezing temperatures, and sudden changes in light. Equipment should be rated for exterior use and installed with weather protection in mind. Mounting points, cable entries, junction boxes, and connectors all need attention. A high-quality camera can still fail early if water reaches a poorly protected connection.
Night vision is equally important. Infrared illumination can provide black-and-white video in low light, but performance changes depending on the scene. Light-coloured siding, nearby walls, glass, or reflective surfaces can bounce infrared light back into the lens and wash out the image. Cameras installed under soffits also need to be angled carefully so the soffit does not dominate the night image.
Existing exterior lighting can help, but bright lights placed directly in front of the camera may create shadows or glare. Motion-activated lighting and camera settings should be considered together. In some situations, a camera with low-light colour video is useful. In others, infrared night vision is the more dependable choice.
Do not forget seasonal changes. A view that is clear in March may be blocked by tree leaves in July. Snowbanks can alter motion detection zones, and a camera pointed toward a driveway may catch constant reflections from wet pavement or passing headlights. Proper adjustment after installation is part of building a dependable system.
Record the footage you may actually need
Live viewing from a phone is useful, but recorded video is what helps when you notice an issue hours or days later. Your recording options may include local storage, a network video recorder, cloud storage, or a combination of these. The right choice depends on how many cameras you have, how long you want to retain footage, your internet connection, and your comfort with ongoing subscription costs.
Motion recording can reduce storage use, but poorly configured motion alerts can quickly become frustrating. A camera facing a busy road, moving branches, or a neighbour's walkway may send repeated notifications that train you to ignore the app. Activity zones, sensitivity settings, and person or vehicle detection can make alerts far more useful.
For critical locations, continuous recording may be worthwhile. It uses more storage, but it can capture activity that starts just outside a motion zone or events missed by a delayed trigger. A professional installer can help balance retention time, image resolution, and storage capacity so the system matches how you expect to use it.
Clean installation protects both the home and the system
A visible cable draped along brick or tucked loosely under a soffit can detract from the home and leave connections exposed. Clean installation means planning cable routes, using suitable fasteners and weather-rated materials, sealing entry points, and placing equipment where it remains serviceable.
The recorder, power equipment, and network connections also need a sensible location. They should be protected from accidental unplugging, excessive heat, moisture, and easy access by an intruder. Where practical, battery backup and surge protection can help keep the system operating through short power interruptions and electrical events.
A camera system is also part of the home network. Default passwords should be changed, remote access should be configured securely, and firmware should be kept current. These details are easy to overlook when a system is installed quickly, but they are central to dependable remote viewing and privacy.
Know when professional help is worth it
DIY cameras can be suitable for a simple, temporary need. If you need one camera at a door with good Wi-Fi and easy access to power, self-installation may be straightforward. The trade-off is that you are responsible for placement, signal testing, weatherproofing, app setup, recording settings, troubleshooting, and future expansion.
Professional installation is particularly valuable when cameras need to cover multiple sides of a home, cable routing must remain discreet, Wi-Fi needs improvement, or you want a system that can grow with the property. An installer can assess blind spots, recommend appropriate camera types, configure mobile access, and test video during the day and at night.
TechWise designs security camera systems around the property rather than forcing every home into a standard package. That approach helps homeowners get clear coverage where it matters, with clean workmanship and support if their needs change later.
The most useful camera system is the one you can trust without thinking about it every day. Start with the entrances and access points that matter most, choose equipment that suits your network and property, and make sure the view remains clear when the sun goes down, the snow arrives, or you need to check an alert from away from home.